Check valve installation is critical for reliable backflow prevention, pump protection, and pipeline safety. A check valve may have the correct size, material, and pressure class, but if it is installed in the wrong direction, wrong orientation, or wrong pipeline position, it can fail quickly.
Common installation problems include reverse flow leakage, disc chatter, check valve slam, water hammer, flange leakage, uneven gasket compression, pump reverse rotation, excessive vibration, and premature seat wear. Many of these problems are not caused by poor valve quality alone. They often come from incorrect installation or poor system layout.
This guide explains how to install check valves correctly in horizontal and vertical pipelines, how to confirm flow direction, where to place the valve after a pump, and what mistakes B2B buyers, contractors, and maintenance teams should avoid. For a broader overview of valve types and selection logic, read our main guide on industrial check valves.
What Is the Correct Direction for Check Valve Installation?
A check valve must be installed according to the correct flow direction. Most industrial check valves have a flow direction arrow on the valve body, nameplate, or drawing. The arrow must point in the same direction as the normal pipeline flow.
If the valve is installed backward, the closure element will remain closed or operate incorrectly. This can block flow, damage the valve, increase pressure drop, and cause system failure. Before installation, always confirm the actual pipeline flow direction, not only the pipe layout drawing.
Flow Direction Checks Before Installation
- Confirm the normal process flow direction
- Check the arrow or marking on the valve body
- Confirm the pump suction and discharge side
- Review pipeline drawing and site layout
- Confirm whether flow is horizontal, vertical upward, or vertical downward
- Check whether the selected valve type is suitable for that orientation
Can Check Valves Be Installed Horizontally?
Many check valves are designed for horizontal installation. Horizontal pipelines are common in water treatment plants, pump stations, chemical utility lines, oil and gas systems, HVAC systems, wastewater pipelines, and industrial process lines.
Swing check valves, dual plate check valves, spring check valves, nozzle check valves, wafer check valves, flanged check valves, and lift check valves may all be used in horizontal pipelines depending on the design and application.
However, horizontal installation still requires correct valve orientation, enough flow velocity, proper pipe support, and correct flange alignment. The valve should not be installed where pipe stress, misalignment, or vibration will force the valve body out of position.
Horizontal Installation Notes
- Install the valve with flow direction matching the body arrow
- Keep the valve centered with the pipeline
- Support the pipe properly before and after the valve
- Avoid excessive pipe stress on the valve body
- Confirm whether the disc, plate, or piston can move freely
- Keep enough space for inspection and removal
Can Check Valves Be Installed Vertically?
Some check valves can be installed vertically, but not all. Vertical installation depends on valve type, flow direction, disc weight, spring force, closure structure, minimum flow velocity, and manufacturer design.
Vertical upward flow is usually easier for many check valves because forward flow helps lift or open the closure element. Vertical downward flow is more difficult and should be reviewed carefully because gravity may prevent proper closure or cause unstable movement.
For a detailed discussion of vertical flow direction and valve type suitability, read our guide on whether a check valve can be installed vertically.
Vertical Installation Risk Factors
- Closure element may not return to the seat correctly
- Disc or plate may chatter under low flow
- Valve may not open fully if flow velocity is insufficient
- Spring force may be too weak or too strong
- Vertical downward flow may cause unstable closure
- Maintenance access may be more difficult
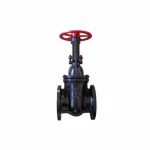
Check Valve Installation Direction by Valve Type
| Valve Type | Horizontal Installation | Vertical Installation | Important Notes |
|---|---|---|---|
| Swing Check Valve | Common | Possible in selected vertical upward flow designs | Disc movement and hinge position must be confirmed |
| Spring Check Valve | Common | Often more flexible depending on design | Check cracking pressure and spring material |
| Dual Plate Check Valve | Common | Possible depending on spring design and flow direction | Plate movement and minimum flow velocity matter |
| Lift Check Valve | Common in suitable designs | Must follow manufacturer recommendation | Disc must lift and return correctly |
| Nozzle Check Valve | Common | Possible depending on axial closure design | Used where fast non-slam closure is required |
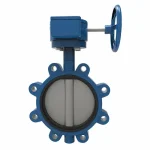
| Wafer Check Valve | Common | Depends on internal valve type | Flange alignment and gasket compression are critical |
| Flanged Check Valve | Common | Depends on internal valve type | Support weight and maintenance access properly |
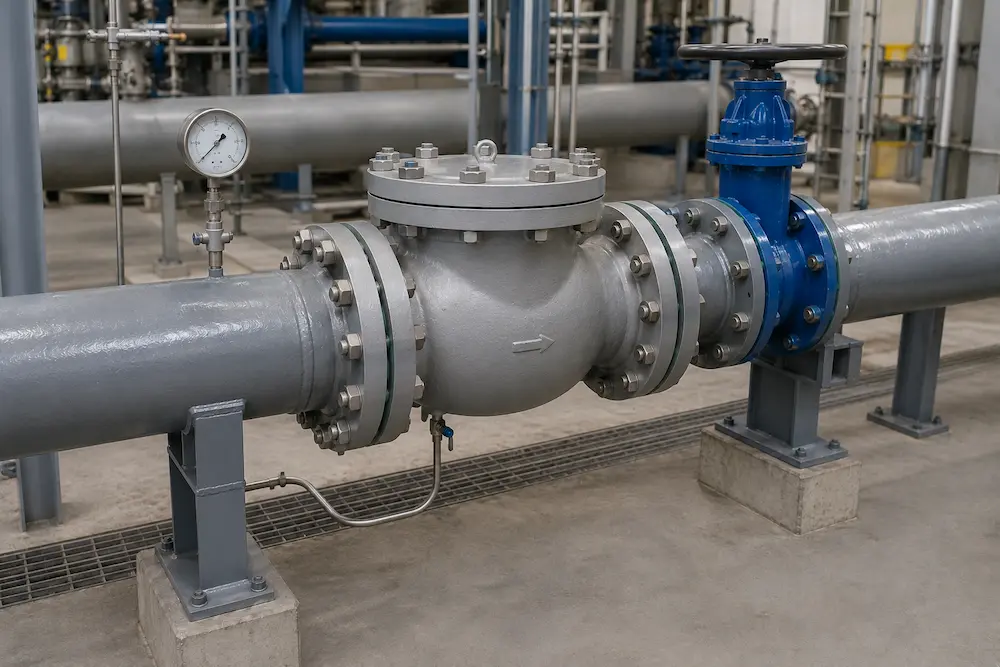
Where Should a Check Valve Be Installed After a Pump?
In many pump discharge systems, the check valve is installed after the pump and before the isolation valve. A common arrangement is:
Pump → Check Valve → Isolation Valve → Discharge Header
This layout helps prevent reverse flow from reaching the pump when the pump stops. The isolation valve allows maintenance teams to isolate the check valve or pump for service after the system is depressurized.
For detailed pump discharge selection, read our guide on check valves for pump discharge.
Pump Discharge Installation Notes
- Install the check valve on the discharge side of the pump
- Confirm whether the pump discharge line is horizontal or vertical
- Keep reasonable spacing for installation and maintenance
- Support the pipeline to avoid loading the pump nozzle
- Confirm whether water hammer or valve slam risk exists
- Use non-slam or nozzle check valves where fast closure is required
Wafer Check Valve Installation
A wafer check valve is installed between two pipe flanges. The valve body is clamped by long through bolts or studs. This compact design saves space and weight, but it requires accurate flange alignment and correct gasket placement.
If the valve is not centered, or if the bolts are tightened unevenly, the gasket may leak or the valve body may be stressed. Wafer check valves should be installed carefully, especially in pump rooms, compact skids, and retrofit projects.
For connection comparison, read our guide on wafer check valve vs flanged check valve.
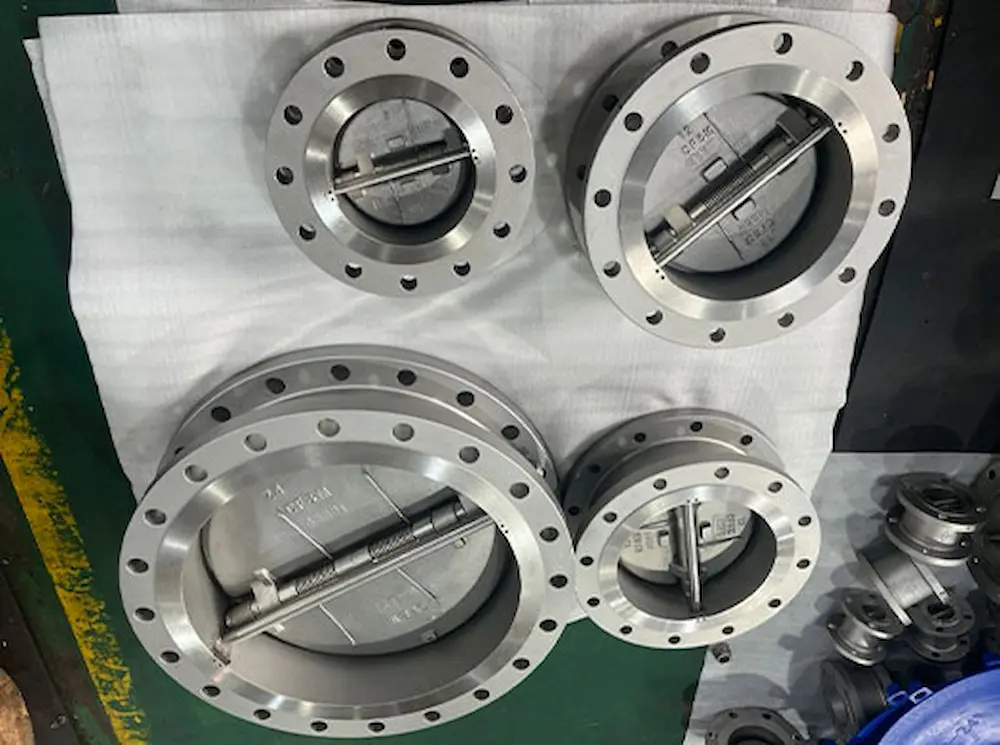
Wafer Installation Checklist
- Confirm flange standard and pressure class
- Check bolt length before installation
- Use correct gaskets on both sides
- Center the valve between the flanges
- Tighten bolts evenly in a cross pattern
- Confirm that internal plates or disc can move freely
- Do not use the valve to correct pipe misalignment
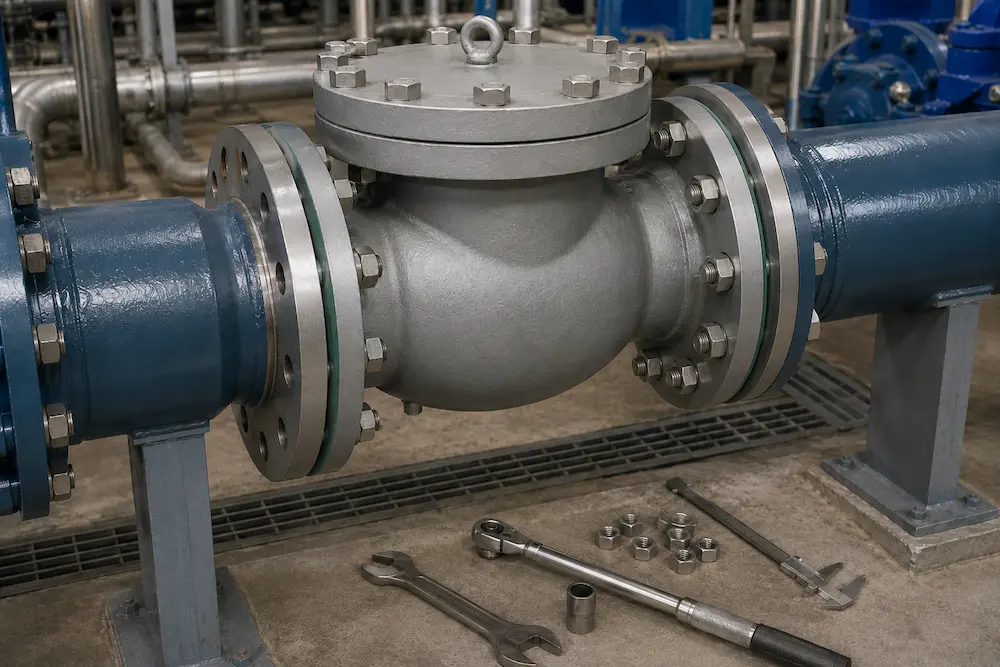
Flanged Check Valve Installation
A flanged check valve has integral flanged ends and is bolted directly to mating pipeline flanges. This structure is common in industrial pipelines because it provides independent valve body support and easier removal in many maintenance situations.
Flanged check valves are heavier than wafer check valves, so pipe support is important. The valve should not hang from the pump nozzle or place excessive load on nearby equipment. Gaskets, flange face type, bolt material, and tightening sequence should match project requirements.
Flanged Installation Checklist
- Confirm flange standard, pressure class, and face type
- Use the correct gasket material and size
- Align flanges before inserting bolts
- Tighten bolts evenly and gradually
- Provide pipe support for heavy valves
- Leave enough space for cover removal and inspection
- Confirm flow direction before final tightening
Common Check Valve Installation Mistakes
Mistake 1: Installing the Valve Backward
This is one of the most serious installation mistakes. A backward check valve can block normal flow, create pressure problems, and damage the valve. Always confirm the body arrow and actual process flow direction.
Mistake 2: Assuming Every Check Valve Can Be Installed Vertically
Vertical installation depends on valve type and design. Some valves work only in horizontal lines or vertical upward flow. Vertical downward flow should be reviewed carefully.
Mistake 3: Poor Flange Alignment
Misaligned flanges can create uneven gasket compression, leakage, body stress, and internal movement problems. The valve should not be used to pull misaligned pipes into position.
Mistake 4: No Pipe Support Near the Valve
Heavy check valves, especially flanged swing check valves and large nozzle check valves, require proper pipe support. Without support, the valve may create stress on pump nozzles, flanges, or adjacent piping.
Mistake 5: Installing Too Close to Turbulence Without Review
Strong turbulence after elbows, reducers, pumps, or control valves may cause unstable disc movement. In some systems, straight pipe length or better valve positioning may be required.
Mistake 6: Oversizing the Valve
An oversized check valve may not open fully under normal flow. This can cause disc chatter, noise, vibration, pressure loss, and seat wear.
Mistake 7: Ignoring Water Hammer Risk
A check valve that closes too slowly may slam after reverse flow develops. Pump discharge systems, long pipelines, and high-head systems should be reviewed for water hammer risk.
Installation Checklist Before Startup
| Inspection Item | What to Check | Why It Matters |
|---|---|---|
| Flow Direction | Valve arrow matches actual flow direction | Prevents reverse installation |
| Valve Orientation | Horizontal or vertical position matches valve design | Ensures disc, plate, piston, or spring movement works correctly |
| Flange Alignment | Flanges are parallel and centered | Prevents gasket leakage and valve body stress |
| Gasket Position | Gasket is centered and compatible with the medium | Prevents leakage after pressurization |
| Bolting | Correct bolt length, material, and tightening sequence | Ensures safe flange sealing |
| Pipe Support | Pipe and valve weight are properly supported | Reduces stress on pump and pipeline |
| Internal Movement | Disc, plate, piston, or spring can move freely | Prevents sticking, chatter, and failure |
| Maintenance Access | Enough clearance for inspection or removal | Improves long-term serviceability |
Startup and Maintenance Recommendations
After installation, the system should be started carefully. Sudden pressurization or pump startup may reveal leakage, noise, vibration, or unstable valve movement. Operators should monitor the valve during initial operation and after pump shutdown.
Startup Checks
- Check flange joints for leakage
- Listen for disc chatter or valve slam
- Monitor pressure gauge fluctuation
- Check pump vibration after startup and shutdown
- Confirm that the valve closes properly when flow stops
- Inspect pipe supports after pressurization
Maintenance Checks
- Inspect seat and disc or plate wear
- Check hinge pin, spring, guide, or piston movement
- Look for corrosion, scale, or deposits
- Replace damaged gaskets and worn sealing parts
- Check for leakage during shutdown
- Review water hammer symptoms after pump stop
How to Choose the Right Check Valve for Installation Conditions
| Installation Condition | Possible Valve Direction | Buyer Notes |
|---|---|---|
| Horizontal pump discharge line | Swing, spring, dual plate, nozzle, lift | Select by water hammer risk, flow rate, and pressure drop |
| Vertical upward flow | Spring, lift, dual plate, nozzle, selected swing designs | Confirm manufacturer recommendation |
| Vertical downward flow | Special review required | Not all check valves are suitable |
| Limited installation space | Wafer, dual plate, compact spring check valve | Check flange alignment and maintenance access |
| High water hammer risk | Nozzle, non-slam, spring-assisted designs | Review pump and pipeline data |
| Dirty wastewater or slurry | Special check valve design required | Avoid designs that easily clog or stick |
Information Buyers Should Confirm Before Installation
- Valve type and installation orientation
- Flow direction and body arrow direction
- Pipeline size and valve size
- Horizontal or vertical pipeline position
- Medium, pressure, temperature, and flow rate
- Flange standard, gasket type, and bolt specification
- Pipe support and equipment nozzle load
- Maintenance clearance around the valve
- Whether water hammer or valve slam risk exists
- Whether startup and shutdown conditions are frequent
- Required test report, drawing, datasheet, and installation manual
Related Check Valve Guides
For more specific check valve selection and installation topics, these guides may help:
- Industrial Check Valves: Types, Applications and Selection Guide — main guide for check valve types, materials, and selection logic.
- Can a Check Valve Be Installed Vertically? — detailed guide for vertical flow direction and valve type suitability.
- Check Valves for Pump Discharge — explains pump outlet placement, backflow prevention, and water hammer protection.
- Check Valve Product Range — compare swing, spring, dual plate, lift, nozzle, wafer, and flanged check valves.
Final Recommendations for Industrial Buyers
Correct check valve installation requires more than placing the valve into the pipeline. Buyers and contractors should confirm flow direction, horizontal or vertical orientation, valve type, internal closure movement, flange alignment, gasket compression, pipe support, water hammer risk, and maintenance access.
A swing check valve may be suitable for many horizontal steady-flow pipelines. A spring check valve, dual plate check valve, or nozzle check valve may be better where faster closure or vertical installation is required. A wafer check valve can save space, while a flanged check valve may be easier to remove and support in heavy-duty piping.
If you need help selecting or installing check valves for pump discharge, water treatment, chemical processing, wastewater, HVAC, power plant utilities, oil and gas, or industrial process pipelines, Vcore Valve can review your working conditions and recommend a suitable valve configuration.
For industrial projects, the key question is not only “Which check valve should I buy?” The better question is: “Can this check valve operate correctly in this exact flow direction, pipeline orientation, installation space, and system condition?”
FAQ
1. Which direction should a check valve be installed?
A check valve should be installed with the flow direction arrow pointing in the same direction as normal pipeline flow. Installing it backward can block flow and damage the valve.
2. Can a check valve be installed vertically?
Some check valves can be installed vertically, especially in vertical upward flow, but not all. Suitability depends on valve type, disc or spring design, flow direction, and manufacturer recommendation.
3. Where should a check valve be installed after a pump?
In many pump discharge systems, the check valve is installed after the pump and before the isolation valve. A common arrangement is pump, check valve, isolation valve, and discharge header.
4. What happens if a check valve is installed backward?
If a check valve is installed backward, it may block normal flow, increase pressure, prevent system operation, or damage internal parts. The flow direction must always match the valve body marking.
5. Why does a check valve make noise after installation?
Noise may come from disc chatter, low flow velocity, oversized valve, water hammer, poor pipe support, or incorrect installation direction. The valve type and system flow conditions should be reviewed.