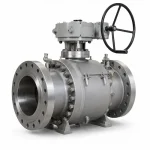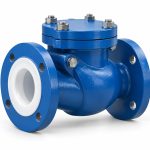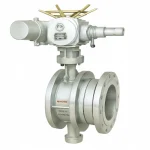
Valve installation and commissioning decide whether a good valve performs like a good valve in the field. Many leakage, sticking and actuator problems are not caused by the valve design itself; they come from wrong storage, pipe stress, gasket mismatch, poor bolt tightening, dirty lines or incomplete commissioning checks.
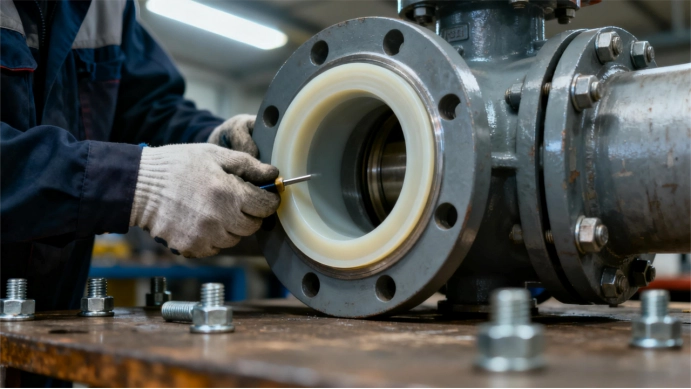
Checkpoint 1: Check the Valve Against the Purchase Specification
Before installation, confirm valve type, size, pressure class, body material, trim, seat material, connection standard and flow direction. Also confirm tags, nameplates and certificate numbers. For project documentation, our valve certificates and quality documents guide explains what should match between the valve and the paperwork.
Checkpoint 2: Inspect Storage and Handling Condition
End protectors should stay in place until installation. Valves should be kept clean and dry. Do not lift heavy valves by the handwheel, actuator, positioner or small accessories. Damage during handling can bend stems, loosen accessories or introduce dirt into the sealing area.
Checkpoint 3: Verify Pipeline Alignment and Support
The valve should not be used to pull misaligned pipe into position. Excess pipe stress can distort the body, overload flanges and create seat leakage. Check pipe supports, flange parallelism and gap before tightening bolts. High-pressure systems should also be checked against the correct pressure-temperature rating. See our valve pressure-temperature rating guide for buyer-friendly rating basics.
Checkpoint 4: Confirm Gasket, Bolt and Torque Requirements
Use gaskets that match the flange standard, pressure class, media and temperature. Tighten bolts in a cross pattern and follow the project torque procedure. Uneven tightening is one of the most common causes of flange leakage after startup.
Checkpoint 5: Clean and Flush the Line Before Operation
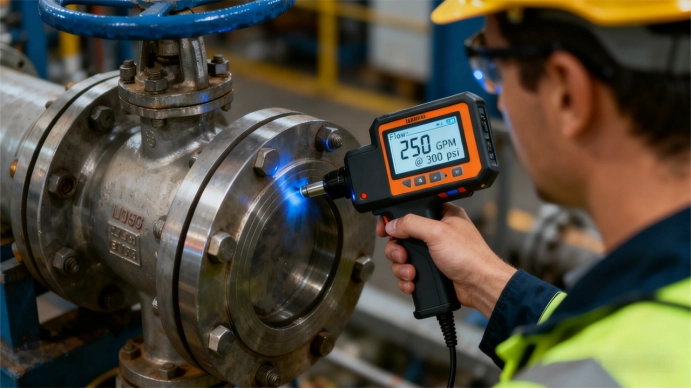
Welding slag, sand, rust and gasket fragments can scratch seats or jam moving parts. Flush the pipeline before commissioning, especially before operating soft-seat ball valves, butterfly valves and control valves. Strainers should be inspected after initial startup because debris often collects during the first run.
Checkpoint 6: Check Valve Position and Flow Direction
Some valves are bidirectional, but many check valves, globe valves and control valves are not. Install according to the arrow on the body or the approved piping drawing. Wrong flow direction can increase pressure drop, prevent check valve closure or damage trim.
Checkpoint 7: Stroke the Valve Before Pressurizing
Cycle the valve fully open and closed before pressurizing the line. This confirms travel, handwheel movement, gear operation and basic actuator function. If torque feels abnormal, stop and inspect alignment, debris, stem packing and actuator settings before forcing the valve.
Checkpoint 8: Calibrate Actuators and Accessories
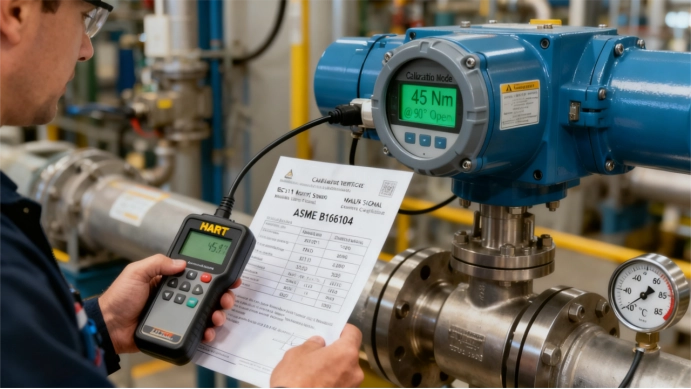
For automatic valves, check opening direction, limit switches, solenoid valve, position feedback, positioner calibration and fail-open or fail-close action. If pressure safety valves are part of the system, separate calibration discipline is needed; our pressure safety valve calibration guide covers that topic in more detail.
Checkpoint 9: Perform Leak and Functional Testing
Commissioning should include flange leak checks, body pressure integrity, seat leakage where applicable and functional operation under realistic conditions. For pressure equipment standards context, ASME codes and standards are a useful external reference.
Checkpoint 10: Record Handover Data for Future Maintenance
Keep inspection reports, test records, torque records, actuator settings, certificate files and installation photos. These records make future troubleshooting faster and help identify whether a later problem is caused by valve wear, process change or installation condition.
Commissioning Hold Points Buyers Should Not Skip
| Hold point | What to verify | Document to keep |
|---|---|---|
| Before installation | Tag number, size, class, material, end connection and flow direction. | Packing list, MTC and valve data sheet. |
| Before bolt tightening | Flange alignment, gasket type, bolt material and pipe support. | Installation photo and torque record. |
| Before first stroke | Line cleanliness, open/close travel and abnormal torque. | Pre-commissioning checklist. |
| Before startup | Leak test, actuator signal, limit switches and fail position. | Leak test report and actuator setting record. |
| After startup | Flange seepage, packing leakage, vibration and operating temperature. | Handover inspection record. |
If a buyer is preparing a project valve list, the product path usually starts from the duty: isolation valves from gate valves or ball valves, throttling duties from globe valves, and non-return duties from check valves. Sending the valve list together with the commissioning standard helps us prepare a more accurate quotation.
RFQ and Project Support Checklist
- Valve type, size, class, material and connection standard
- Installation position, flow direction and pipeline drawing if available
- Media, operating pressure, temperature and cleaning requirements
- Actuator control signal, fail position and accessories
- Required testing, inspection and document package
If your project needs valves with installation documentation, test records or actuator setup support, send us the line data and required standards. We can prepare a valve package that is easier for your installation team to verify and commission.
FAQ
What is the most common valve installation mistake?
Common mistakes include poor pipeline alignment, wrong gasket selection, uneven bolt tightening, dirty pipelines and incomplete actuator calibration.
Should a valve be operated before the line is pressurized?
Yes. A full open-close stroke before pressurizing helps confirm travel, torque, actuator direction and visible installation problems.
What records should be kept after commissioning?
Keep certificates, pressure test reports, leak test results, actuator settings, torque records and installation photos for future maintenance and troubleshooting.